

Carrots, with their vibrant hues and crisp texture, are a staple in many kitchens. But have you ever pondered the question: can you grow carrots hydroponically? The prospect of cultivating these root vegetables in a soilless environment seems intriguing, offering a unique twist to traditional gardening. In this guide, we will delve into the various aspects of hydroponically growing carrots, revealing a world of innovation and sustainable practices.
To begin with, it’s essential to understand what hydroponics entails. Hydroponics is a method of growing plants in nutrient-rich water, devoid of soil. This revolutionary approach allows for greater control over growing conditions and can significantly enhance growth rates and yield. Intrigued? Let’s explore the step-by-step process of growing carrots hydroponically.
Step 1: Selecting the Right Varieties
Not all carrots are created equal when it comes to hydroponic cultivation. Short and cylindrical varieties such as ‘Nantes’ or ‘Parisian’ are ideal for hydroponic systems due to their compact growth. Unlike their longer counterparts, which may struggle in confined spaces, these varieties flourish in hydroponic setups, promising a bountiful harvest without excessive fuss.
Step 2: Choosing Your Hydroponic System
There are several hydroponic systems to choose from, each with its unique advantages. The Nutrient Film Technique (NFT) allows a thin film of nutrient solution to flow over the roots, proving efficient for fast-growing plants like carrots. Alternatively, the Deep Water Culture (DWC) system suspends the roots in a nutrient solution, providing ample oxygen and nutrients. Consider your space, budget, and desired maintenance level when selecting a system.
Step 3: Preparing Nutrient Solutions
The nutritional needs of carrots are paramount. A balanced solution rich in nitrogen, phosphorus, and potassium will encourage robust growth. While many commercial nutrient mixes are available, it’s wise to choose those specifically formulated for root vegetables. Ensure you carefully follow the mixing instructions to maintain optimal pH levels, ideally between 5.5 and 6.5, as this is crucial for nutrient absorption.
Step 4: Sowing Seeds
Once your system is set and the nutrient solution is ready, it’s time to sow those seeds. Begin by placing seeds in starter plugs—these can be made from rock wool or coconut coir, both of which offer excellent moisture retention. Lightly moisten the plugs and then sow one or two seeds per plug to ensure a healthy germination rate. Keep the seeds in a warm, bright location until they sprout, generally within a week.
Step 5: Transplanting Seedlings
When your seedlings reach about 2-3 inches in height, they are ready to be transplanted into the hydroponic system. Handle them with care, as delicate roots can easily be disturbed. Gently place each seedling into the net pots filled with a growing medium like clay pellets or expanded shale. This ensures adequate support while allowing for proper drainage and aeration.
Step 6: Providing Proper Lighting
Lighting plays a crucial role in the growth of hydroponic carrots. Depending on whether you are growing indoors or outdoors, you’ll need to establish an adequate lighting system. For indoor setups, consider using full-spectrum LED grow lights, which mimic natural sunlight and promote healthy photosynthesis. Aim for 12-16 hours of light daily to maximize growth without overwhelming the young plants.
Step 7: Monitoring and Adjusting Conditions
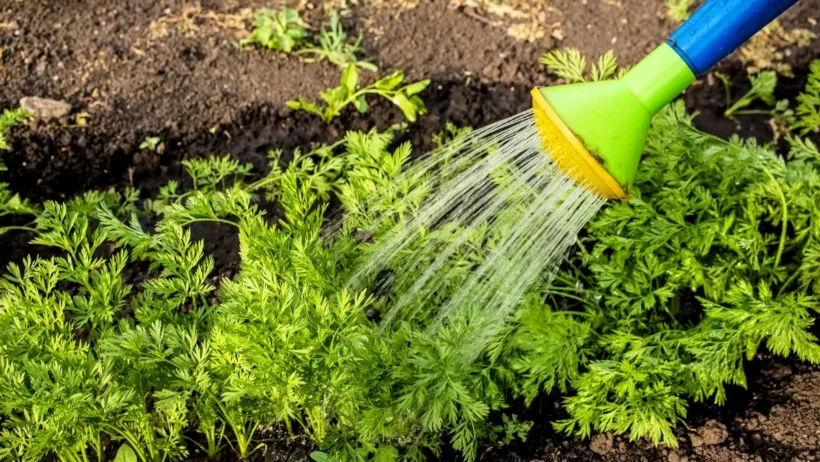
As your carrots grow, consistently monitoring their environment is essential. Check the pH and electrical conductivity (EC) of the nutrient solution regularly to ensure they remain in ideal ranges. Keep an eye on humidity and temperature as well—carrots thrive in conditions around 60-70°F. Regular adjustments will ensure that your plants are not only healthy but thriving in this innovative hydroponic format.
Step 8: Pest Management
Even in a hydroponic setting, pests can pose a threat to your crop. However, the enclosed nature of many hydroponic systems often mitigates this risk. Still, vigilance is key. Employ natural pest control methods such as introducing beneficial insects or using neem oil if you spot any intruders. This approach maintains the integrity of your hydroponic garden without resorting to harsh chemicals.
Step 9: Harvesting Your Carrots
After around 8-12 weeks, your carrots will be ready for harvesting. Monitor them closely, as the optimal time to harvest varies by variety and desired size. To harvest, gently pull them from the growing medium, being careful not to bruise the delicate roots. Ensure they are clean and well-prepared for immediate consumption or storage.
Conclusion: A Sustainable Future for Carrots
Hydroponically growing carrots offers a sustainable alternative to traditional agricultural practices. By utilizing this innovative method, you can cultivate fresh, delicious produce while minimizing land use and reducing water consumption. The benefits extend beyond individual households—adopting hydroponics on a larger scale can contribute to food security in urban environments and areas with limited arable land.
As we continue to confront the challenges of climate change and resource scarcity, the shift toward hydroponics and similar innovative agricultural techniques presents an opportunity for both gardeners and growers. The cultivation of carrots in these systems sparks curiosity and promises a new perspective on food production, beckoning us all to explore unconventional pathways to sustainability. With each carrot pulled from the hydroponic system, we inch closer to a future where freshness and innovation coexist harmoniously.